top of page
COLOUR, LIGHT & LOCATION
Dylan Bedford | RGSHW | A Level Investigation

CLAY HUT
From my previous research into the Ndebele people, I learnt how important their huts are to individual (and tribal) identity. For this resolved piece I made a hut while trying to use traditional techniques everywhere I could so that I could build a similar attachment to my hut as the Ndebele people would. Additionally, I incorporated pattern and colour in a more stylistic modern way, more similar to Knapp and Stella. (To go straight to results use the menu on the right).
Preparation
Preparation
The main body of my piece was going to be made out of clay, while it may normally be made using mud, for this project clay was more accessible in these quantities and has the benefit of being able to be fired.
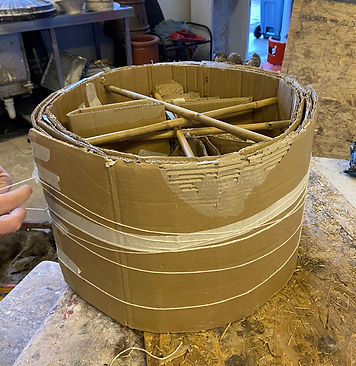

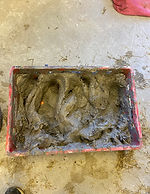
I made this cardboard tube using a bin for the shape and then reinforced it with tape, bamboo and more cardboard. On the right is the hay and the clay I used prior to mixing, for the main body the hay's long strands provide good structural integrity (it was utilised differently for the roof).
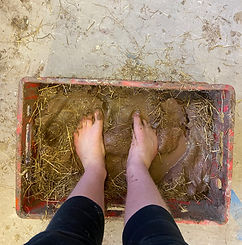

To really embrace the primitive African techniques I used my feet to mix the clay and hay together as they would and after an interesting few minutes of squelching in clay and straw, I got it to a more consistent composite.
First Layer
first layer
Once I had prepared the clay and the mould I could start to build up the first layer.
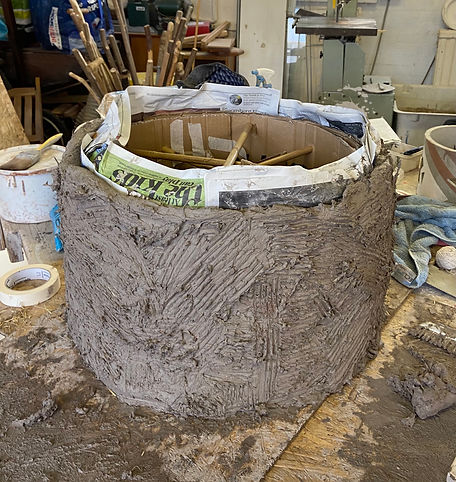
To achieve the above result, I took the handfuls of the clay and straw mixture and rolled them so that they were like long bricks. By starting at the bottom and working up I built it up to that height, additionally all the thin patches were fixed by slapping clay on. Finally, I smoothed it over using a comb.
Above, Mr Bowen helps me by using the burner to help dry out the wet clay. Once the clay had dried a bit, I patted it down using a wooden paddle to compress the clay and also to shape it nicely (it had distorted a bit when moving it outside). Then, by using the comb, I scratched diagonal lines into it working from bottom to the top in a spiral, this also helps produce a consistent thickness and more surface area meaning the bond with the second layer is stronger.
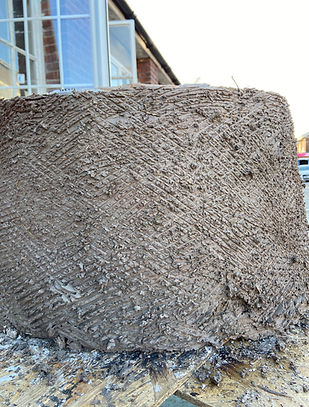
What it looks like after finishing layer 1

Second Layer
second layer
To make sure the clay didn't break under its own weight or the weight of the roof I designed it with two layers, the second one slightly more tapered.


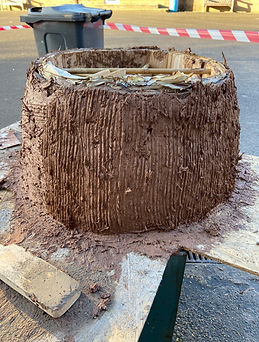
Unlike with the first layer, I built this one up by throwing handfuls at it, spiralling up from the bottom and filling in any hollows as I went. This method ensured there's no air between the two layers, which would cause a weak joint.
Additionally, as you can see, this second layer is redder, this is due to the higher iron contents which makes this layer shrink more during firing, making it a lot stronger.
I then repeated the comb and slapping process like with the first layer.

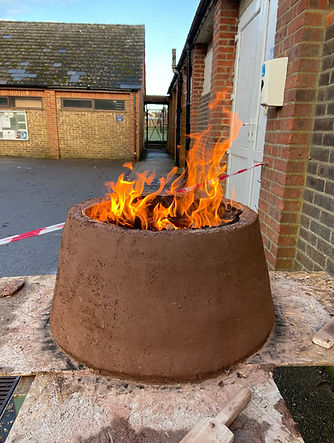
As there was still cardboard and newspaper on the inside, with assistance (and health and safety!) we burnt the newspaper and cardboard out so that the heat of the fire would assist the drying process and remove the cardboard which was probably holding in the moisture.
The Roof
The roof
Most Ndebele hut have thatched roofs but I decided to use clay as I had plans to build a fire inside as a light source and obviously thatching is very fire resistant.


I started by making a cardboard cone and through trial and error of making it and then holding it up to the hut I eventually got it to a size and angle I was happy with. I then lay the strips of clay in a spiral going from the vertex down to the edge of the roof.

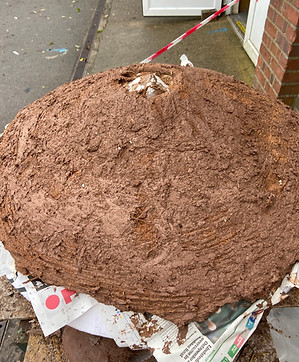
I left a hole in the top of the roof as this is what is actually done in hut making for ventilation although usually there is another cone on top to stop rain getting through but I didn't have the need for it for a project on this scale.
We then used the burner to dry it out a bit more.

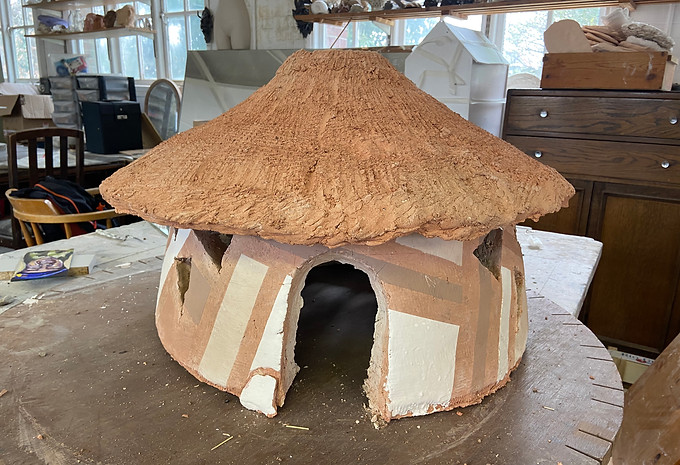
Final result before firing.
Decor
decor
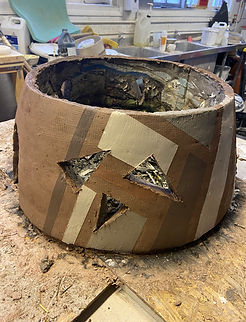
I wanted to the design of this hut to take inspiration from the Ndebele people but also combine elements from my previous work with Stella and Knapp.

On the left is one of my previous media experiments which I used as a design basis for my big hut. The window shape is based on my work using acetate shards, the paint is done with a consideration of Stella's patterns and the straight-edged Ndebele designs.


Here you can see how I based my window design off of my previous work with plastic shards and light.
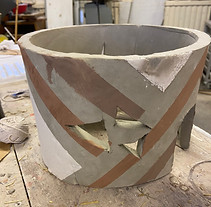
Using clay slips and a lot of masking tape I made this pattern. It's my own design made from a combination of previous work and research. I knew I had to maintain the distinct geometric aspect of the Ndebele people's work however I stylized it to a more modern version with a tilt and less consistency like the work of Stella.


Barrel Kiln
Experimental barrel kiln
Before firing my actual piece, with help, I was able to experiment with using a barrel kiln to fire pottery. Barrel kiln firing is slightly less controlled and more primitive but has the advantage of producing interesting smoke patterns and colourings on the clay.
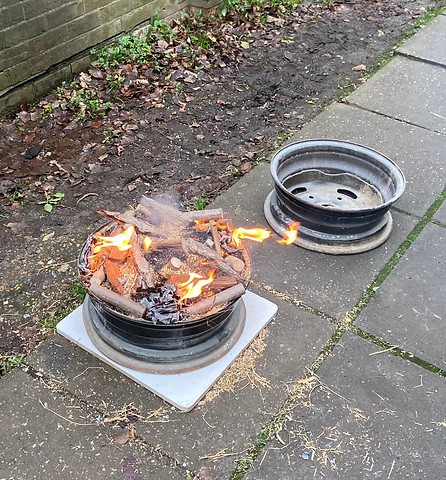
This is the barrel kiln I used, two of my pottery pieces were buried in the hay and wood.

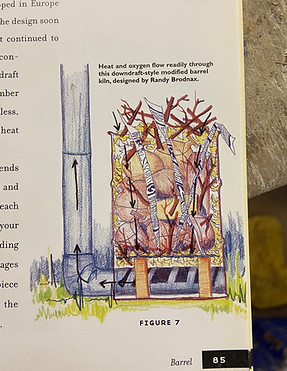
The pictures above are from the book 'Alternative Kilns and Firing Techniques' and show two different barrel kilns. The one we built was more based on the one on the right as there was ventilation via the holes in the wheel.


The clay piece in the top right was what I fired using this technique. Barrel firing is a more risky method as it is harder to control the temperature which is why we used a test piece. From this photo you can see how the kiln was raised to provide ventilation from underneath.
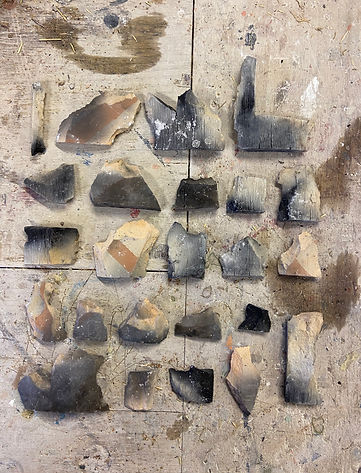

Unfortunately, the clay exploded in the kiln as the temperature got too high too quickly, I was only left with these scraps however you can still see how the textures and the colours from the slips came through. In addition you can see the nice smokey gradients that I had mentioned.
This experiment was very interesting to do and I am glad to have been able to try something new however we decided that we would not use a barrel kiln for my actual piece because it was too risky.
Raku Kiln
Setting up the raku kiln
As I didn't want to risk any damage to my piece we fired it in a Raku kiln where the temperature is more even and can be controlled with a propane burner rather than burning logs.


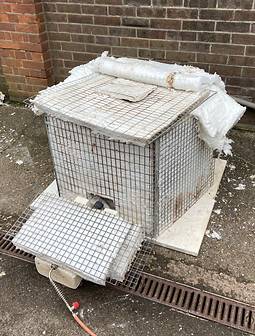
The hut was lifted onto bricks for better airflow around the kiln and so that there's more surface area for water to escape from the clay.

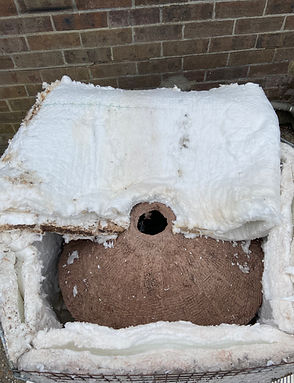
The Raku kiln is made from ceramic fibre which is a great insulator of heat and allows the kiln to get to 1000°C
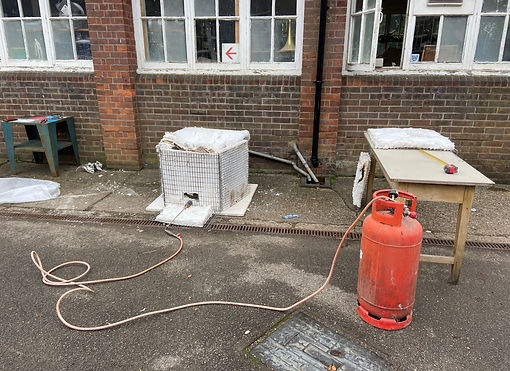
The heat was supplied from burning propane, temperature was watched with an analogue and digital thermometer. For this piece the clay was bisque fired which means that it was gradually and consistently heated up to 900°C
Results
Results
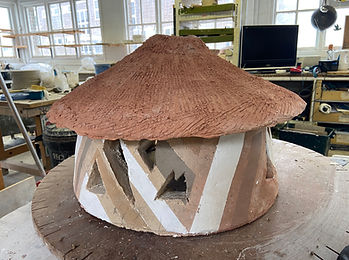
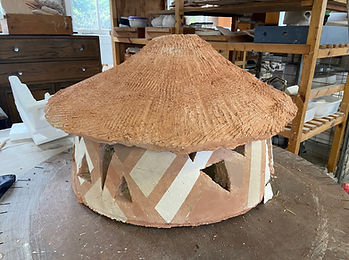
Here are the post-firing results, I am very pleased with how it came out and it's nice seeing the slips transform into their vibrant colours.
bottom of page